Blog
Mastering Embroidery on Flour Sack Dish Towels – Top Tips and Best Practices
Jun
Are you a fan of vintage-style kitchen decor? Do you love the look of flour sack dish towels but struggle to embroider on them? Well, fear not! We are here to share our top tips and best practices for mastering embroidery on flour sack dish towels.
Embroidering on these towels requires some special considerations and techniques to ensure a professional-looking finished product. In this article, we will guide you through hand and machine embroidery methods, the best stabilizers to use, and provide vintage tea towel embroidery pattern ideas to inspire your creativity.
With our help, you’ll be able to create beautiful embroidered flour sack tea towels that will add charm and personality to any kitchen. So let’s get started!
Towel Size and Material

You’ll want to pay attention to the size and material of your flour sack tea towels if you want to master embroidery on them. These towels are perfect for displaying intricate designs, but they need to be the right size and made of the right material.
Flour sack tea towels typically measure 27×27 inches and are made of 100% cotton. This ensures that they’re durable enough to withstand repeated use while also being soft enough to easily absorb spills. When it comes to embroidery, choosing the right towel material is crucial.
The porous nature of cotton makes it easier for thread to pass through, which is important when creating intricate designs. Additionally, 100% cotton towels tend not to shrink or warp in the wash, ensuring that your embroidery will remain crisp and clear even after multiple uses.
It’s also important to ensure that your flour sack kitchen towels have hemmed edges and a corner hanging loop for easy display. Hemmed edges prevent fraying over time, while a hanging loop allows you to proudly display your towel in your kitchen or give it as a gift without worrying about damaging the embroidered design.
By paying attention to these details, you can ensure that your embroidery on flour sack tea towels looks professional and lasts for years to come.
Hand Embroidery Techniques
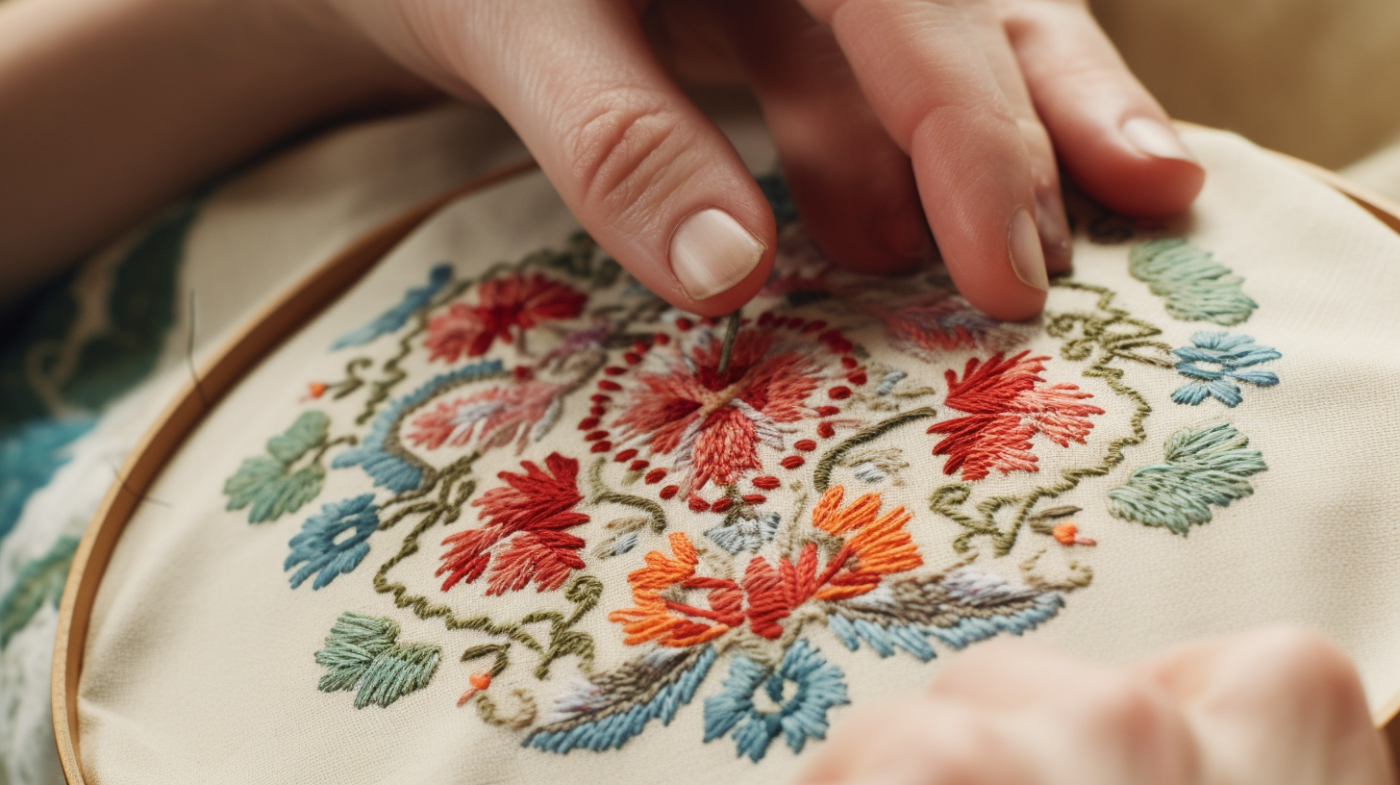
To perfect your hand embroidery skills on these cotton flour sack towels, there are various techniques to experiment with. Here are some tips and tricks to help you create beautiful designs:
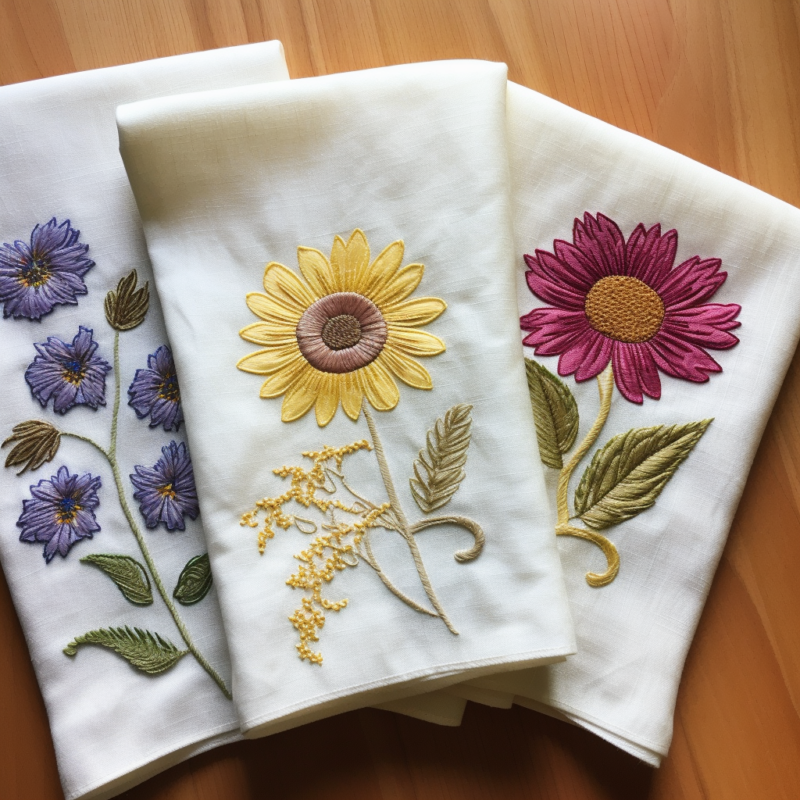
- Try using a variety of stitches such as backstitch, chain stitch, satin stitch, and French knots to add texture and dimension to your embroidery.
- Use contrasting thread colors that’ll stand out against the white background of the towel. This’ll make your designs pop and add visual interest.
When embroidering on flour sack tea towels bulk or flour sack kitchen towels, it’s important to use a stabilizer. This’ll prevent the fabric from puckering or stretching while you’re stitching.
Remember that practice makes perfect when it comes to mastering hand embroidery techniques on flour sack tea towels. Don’t be afraid to experiment with different stitches and thread colors until you find a design that suits your style.
By following these tips, you’ll be able to create unique and beautiful embroidered designs on cotton flour sack towels that’ll impress anyone who sees them. So go ahead and get creative!
Machine Embroidery Tips
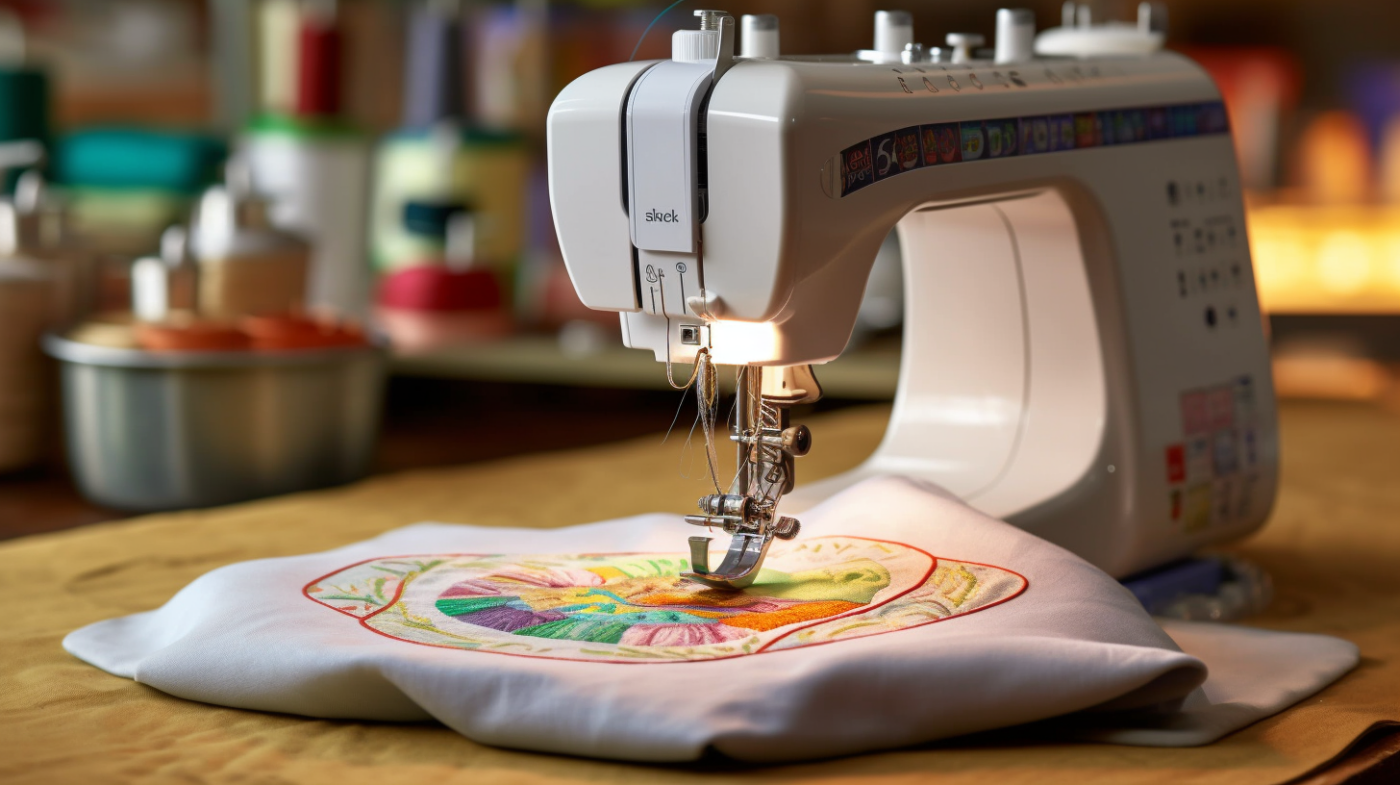
If you want to add a professional touch to your cotton flour sack tea towels, machine embroidery is a great option. With the right tools and techniques, you can create beautiful designs that will last for years.
Here are some top tips and best practices to help you master embroidery on flour sack kitchen towels. First, choose the right stabilizer for your project. A tear-away stabilizer works well for light or medium-weight designs, while a cut-away stabilizer is better for heavy or dense designs. Make sure to hoop both the stabilizer and towel tightly to prevent shifting during stitching.
Next, select high-quality thread in colors that complement your design and fabric. Use a size 75/11 needle with cotton thread for best results. It’s also important to adjust your tension settings appropriately based on the thickness of your thread and fabric.
Finally, practice proper hooping techniques and use an embroidery machine with precise stitching capabilities. Start by testing out your design on scraps of fabric before embroidering onto your actual flour sack tea towels.
With these tips in mind, you’ll be able to create stunning embroidered flour sack kitchen towels that will impress all who see them.
Choosing the Right Stabilizer
Choosing the right stabilizer is crucial for achieving a successful machine embroidery design on your cotton flour sack kitchen towels. Stabilizers are used to provide support and prevent the fabric from puckering or stretching during the embroidery process.
There are many different types of stabilizers available, so it’s important to choose the one that best suits your specific project. When selecting a stabilizer, consider factors such as weight, texture, and color.
For flour sack tea towels, a medium-weight cutaway stabilizer like tear-away or wash-away would work well. Tear-away stabilizers can easily be removed after stitching, while wash-away ones dissolve in water, leaving no residue behind. It’s also important to match the color of your stabilizer with that of your fabric to avoid any show-through.
In addition to choosing the right type of stabilizer for your project, there are some best practices you can follow to ensure optimal results. Always hoop both the fabric and stabilizer tightly together before beginning stitching. This will help prevent any shifting or movement during embroidery. Also, remember to use sharp needles and proper tension settings on your machine for clean and clear lines.
By following these tips and selecting the appropriate stabilizer for your flour sack kitchen towels, you can create beautiful embroidered designs that will last for years to come.
Vintage Pattern Inspiration
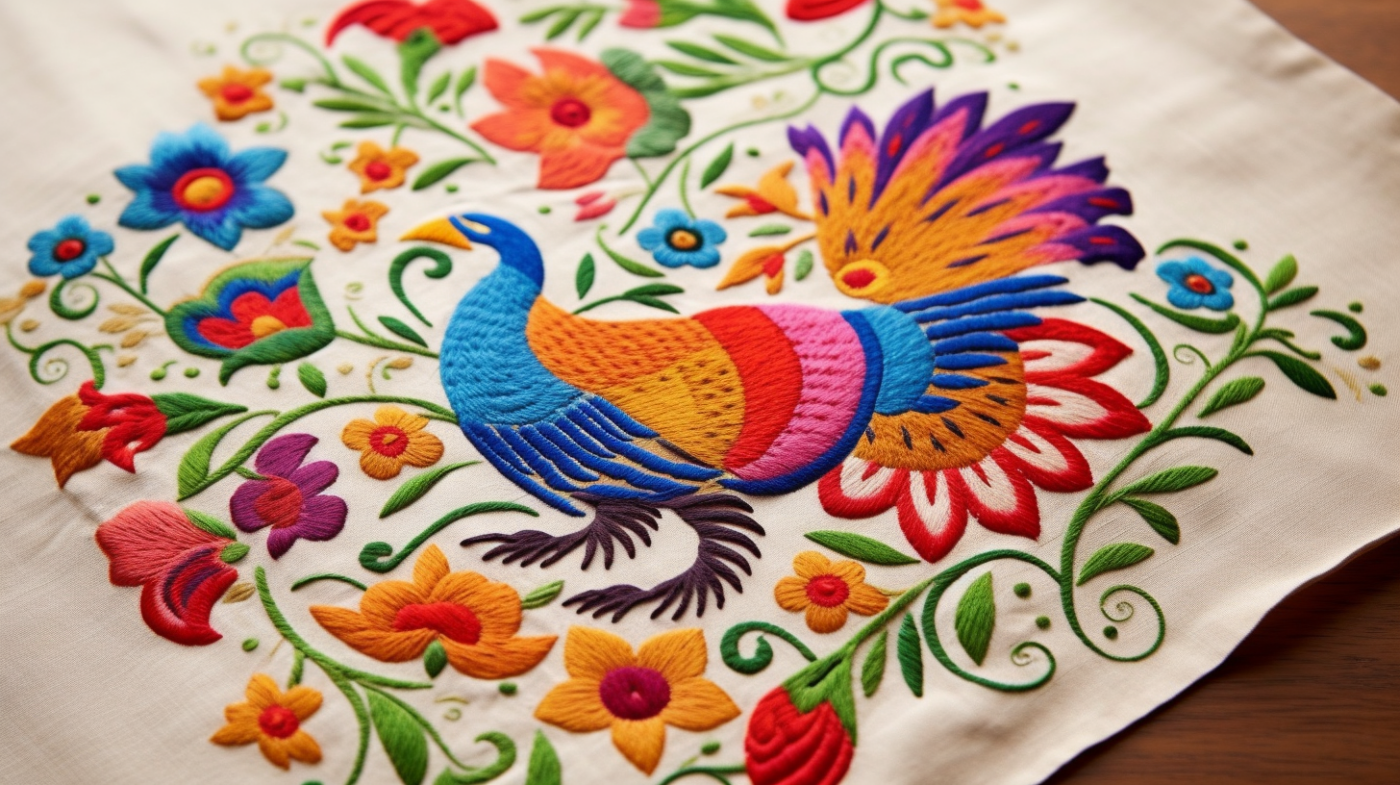
Get inspired with vintage patterns for your next embroidery project on flour sack kitchen towels! Vintage patterns are timeless and add a touch of nostalgia to any kitchen. They’re also versatile, with designs ranging from simple floral motifs to intricate scenes.
Here are some top tips for finding vintage patterns for your flour sack dish towel embroidery project:
- Check out antique stores or flea markets for vintage tea towels that you can use as inspiration.
- Search online for free or paid vintage embroidery patterns. Websites like Etsy and Pinterest have a plethora of options.
- Look through old family photos or heirlooms to see if there are any embroidered pieces that you can recreate.
- Don’t be afraid to mix and match different vintage patterns to create a unique design.
When using vintage patterns, it’s important to keep in mind best practices for embroidery on flour sack tea towels. Make sure to choose the appropriate stabilizer, use sharp needles, and avoid pulling too tightly on the fabric while stitching.
With these tips in mind, you’ll be able to create beautiful and long-lasting embroidered flour sack kitchen towels with a touch of nostalgia.
Frequently Asked Questions
Can I use different types of thread for embroidery on flour sack tea towels?
Yes, we can use different types of thread for embroidery on flour sack tea towels. However, it’s important to choose a thread that complements the fabric’s texture and color. We recommend using cotton or rayon threads that are durable and easy to work with.
How can I prevent puckering when embroidering on flour sack kitchen towels?
To prevent puckering when embroidering on flour sack kitchen towels, we recommend using a stabilizer and hoop to keep the fabric taut. Avoid pulling the needle too tightly and use small stitches to distribute tension evenly.
What are some creative ways to incorporate embroidery into flour sack tea towels?
Let’s add personal touches to flour sack tea towels by incorporating embroidery in creative ways. Consider adding monograms, quotes, or patterns that reflect your style and personality. The possibilities are endless!
Are there any specific washing instructions for flour sack dish towels with embroidery?
We recommend washing flour sack dish towels with embroidery in cold water on a gentle cycle and tumble drying on low heat. Avoid using bleach or fabric softeners to preserve the embroidered design and the towel’s integrity.
How do I know if I need to use a pre-wash treatment on my flour sack dish towels before embroidering?
We always pre-wash our flour sack kitchen towels before embroidering to remove any sizing or chemicals that may affect the embroidery process. It also helps to prevent shrinkage and ensure a smooth surface for stitching.
Conclusion
In conclusion, mastering embroidery on flour sack dish towels requires some special considerations and techniques to ensure a professional-looking finished product.
When it comes to choosing the size and material of your towel, keep in mind that larger towels allow for more embroidery space, while thinner materials can be easier to work with.
For hand embroidery techniques, using a hoop can help keep your fabric taut and prevent puckering. Additionally, using the right needle and thread can make all the difference in achieving clean and precise stitches.
For machine embroidery tips, be sure to use a stabilizer to prevent bunching or shifting during stitching.
Finally, vintage pattern inspiration abounds when it comes to flour sack tea towels. Consider incorporating classic motifs like kitchen utensils or botanical designs into your embroidery projects for a charming rustic touch.
With these top tips and best practices in mind, you’ll be well on your way to mastering embroidery on flour sack tea towels like a pro!