How-to Guides and Tutorials
How To Print On Flour Sack Towels
Jul
Are you looking to add a personal touch to your kitchen decor? Printing on flour sack towels is the perfect way to showcase your creativity and style. In this article, we will guide you through the step-by-step process of printing on these versatile towels.
Gather your materials, including flour sack towels, fabric paint, and a design of your choice.
Prepare your design by sketching it out or using a stencil for precision.
Transfer your design onto the towel using either an iron-on transfer or a screen printing method.
Set the design with heat to ensure its longevity and durability.
Finally, learn how to properly care for your printed flour sack towels so that they remain vibrant and beautiful for years to come.
Get ready to impress your guests with unique and custom-made kitchen accents!
Key Takeaways
- Printing on flour sack towels adds a personal touch to kitchen decor
- Gather materials: flour sack towels, fabric paint, design stencil, foam brush, flat surface
- Properly care for printed flour sack towels to maintain vibrancy
- Impress guests with unique and custom-made kitchen accents
Gather Your Materials
Gather all of your materials, like a stack of soft flour sack towels, vibrant fabric paints, and trusty paintbrushes.
Before you begin printing on the towels, make sure they’re clean and free from any wrinkles. Lay them out flat on a table or any smooth surface to work on.
Next, choose the design or pattern you want to print onto the towels. You can either create your own stencil or use pre-made stencils for more intricate designs.
Once you have your design ready, dip your paintbrush into the fabric paint and carefully apply it onto the towel using even strokes. Make sure to press down firmly but not too hard to avoid smudging.
Allow the paint to dry completely before moving on to another section or adding any additional layers of color.
And there you have it – beautifully printed flour sack towels!
Prepare Your Design
First, you’ll want to gather all your artistic ideas and let them dance across the canvas of your imagination. Once you have a clear vision of what you want to print on your flour sack towel, it’s time to prepare your design.
Start by sketching out your design on a piece of paper or using graphic design software. Make sure to consider the size and placement of your design on the towel.
Next, transfer your design onto a stencil or transfer paper. This will make it easier to apply the design onto the towel later.
Finally, make any necessary adjustments or touch-ups to ensure that your design is exactly how you want it before moving on to the next step in printing on flour sack towels.
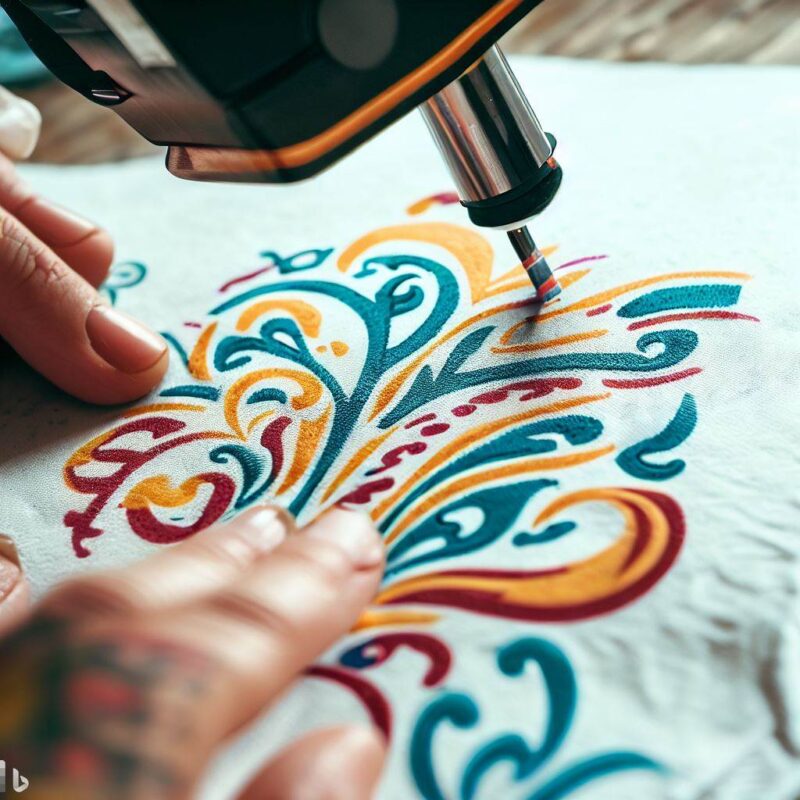
Transfer Your Design onto the Towel
Once you’ve finalized your design, it’s time to bring it to life by transferring it onto the beautiful canvas of your choice.
Start by gathering all the necessary materials: your flour sack towel, transfer paper, and a hot iron.
Place your towel on a flat surface and carefully position the transfer paper with the printed side facing down onto the fabric. Make sure it’s centered and secure with tape if needed.
Apply heat evenly over the entire design using a hot iron set to the appropriate temperature for your transfer paper. Press firmly but not too hard for about 15-20 seconds.
Allow the transfer to cool before peeling off the paper.
Voila! Your design is now beautifully transferred onto your flour sack towel, ready to be admired or gifted to someone special.
Set the Design with Heat
To truly bring your design to life, it’s time to infuse it with heat, creating a lasting impression that will captivate anyone who lays eyes on it. Follow these steps to set the design on your flour sack towel:
- Preheat your iron: Set your iron to the appropriate temperature for the fabric of your towel. Make sure to turn off the steam function.
- Place a protective barrier: Put a thin cotton cloth or parchment paper over the design. This will prevent direct contact between the iron and the ink.
- Apply heat evenly: Gently press down on the cloth-covered design with your preheated iron. Move in circular motions or back and forth to ensure even heat distribution.
By following these steps, you’ll secure your design onto the flour sack towel, creating an eye-catching piece that is both beautiful and durable.
Care for Your Printed Flour Sack Towels
Taking care of your printed flour sack towels is essential to maintain their vibrant colors and longevity.
After printing, it’s important to follow proper care instructions to ensure the best results.
To begin, always wash your towels separately from other items. This will prevent any potential color bleeding or transfer.
Use a mild detergent and avoid using bleach or fabric softeners as they can fade or damage the print over time.
When drying, tumble dry on low heat or hang them up to air dry. Avoid high heat as it can cause shrinkage and affect the durability of the design.
Ironing should be done on the reverse side of the towel using low heat or a cotton setting to protect the print.
By following these simple steps, you can keep your printed flour sack towels looking fresh and vibrant for years to come.
Frequently Asked Questions
How long does it take for the design to fully dry on the flour sack towel?
The drying time of a design on a flour sack towel depends on the type of ink or paint used and environmental factors like humidity. Generally, it can take anywhere from a few hours to overnight for the design to fully dry.
To speed up the drying process, you can use a heat gun or iron set on low heat. Patience is key, as rushing could smudge the design.
Can I use regular printer ink to print my design onto the towel?
Yes, you can use regular printer ink to print your design onto a flour sack towel. However, it’s important to note that the ink may not adhere as well to the fabric and may fade over time. To ensure a longer-lasting design, it’s recommended to use fabric inks or markers specifically designed for printing on textiles. These products are formulated to bond with the fabric fibers and provide better color retention.
Is it necessary to pre-wash the flour sack towel before printing on it?
No, it’s not necessary to pre-wash the flour sack towel before printing on it. I mean, who needs clean fabric anyway? It’s not like you want your design to come out looking crisp and vibrant.
Plus, why bother removing any dirt or chemicals that might be lurking on the towel when you can just print right over them? Who needs a pristine surface for printing when you can have a beautiful mess instead?
Can I use an iron to set the design instead of a heat press machine?
Yes, you can use an iron to set the design on flour sack towels instead of a heat press machine. Start by placing a clean cloth over the design and apply firm pressure with the iron for about 30 seconds. Make sure to use the cotton setting on your iron and avoid any steam. Afterward, allow the towel to cool completely before using or washing it.
Can I use fabric markers instead of screen printing for printing on flour sack towels?
Sure, you can definitely use fabric markers instead of screen printing to print on flour sack towels. It’s a convenient and creative alternative. With fabric markers, you have more control over the design and can achieve intricate details.
Plus, they’re easily accessible and don’t require any special equipment or setup. So go ahead and unleash your artistic side on those flour sack towels using fabric markers – the possibilities are endless!
Conclusion
Congratulations! You’ve now mastered the art of printing on flour sack towels. With a careful selection of materials and a well-prepared design, you can create stunning and personalized designs on your towels.
By following the transfer process and setting the design with heat, you ensure that your prints will last for a long time. And don’t forget to care for your printed towels properly to maintain their quality.
Get ready to impress everyone with your unique creations! Stay tuned for more exciting DIY projects coming your way.