How-to Guides and Tutorials
How To Machine Embroider On Flour Sack Towels
Jul
They say that the devil is in the details, and what better way to bring some devilishly delightful details into your home than by machine embroidering on flour sack towels? These versatile towels are not only practical, but with a touch of embroidery, they can also become charming and personalized accents for your kitchen or bathroom.
In this article, we will guide you through the process of transforming plain flour sack towels into beautiful works of art using an embroidery machine. From gathering your materials and design ideas to adding those finishing touches and caring for your embroidered towels, we have all the tips and tricks you need to create stunning pieces that will impress both guests and family members alike.
So grab your favorite designs and let’s get started on this embroidery adventure!
Key Takeaways
- Gathering the necessary materials, such as a sewing machine with embroidery function, embroidery thread, stabilizer, and flour sack towels, is essential for machine embroidering on flour sack towels.
- Choosing designs that complement the towels’ aesthetic, such as floral patterns, monograms, or cute quotes, can add personalized accents to the towels.
- Preparing the towels by washing and ironing them, as well as using a stabilizer or backing material, can contribute to achieving professional-looking results.
- Care for the embroidered towels by washing them in cold water with mild detergent and avoiding bleach or fabric softener to ensure their longevity.
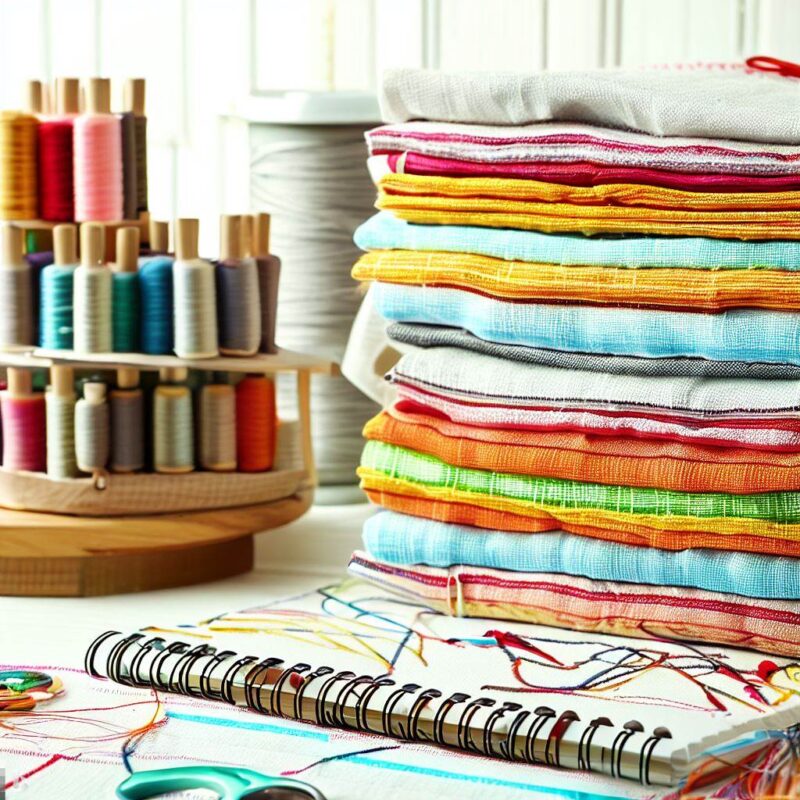
Gather Your Materials and Design Ideas
Now that you’ve got all your materials and design ideas ready, it’s time to dive into the exciting world of machine embroidering on flour sack towels! The first step is to gather all the necessary tools. You’ll need a sewing machine with an embroidery function, embroidery thread in various colors, stabilizer to reinforce the fabric, and of course, flour sack towels.
Make sure to choose designs that will complement the towels’ aesthetic. You can opt for floral patterns, monograms, or even cute quotes.
Next, load your chosen design onto your sewing machine and secure the towel onto the hoop. Adjust the tension and stitch length according to your desired outcome.
Finally, start stitching! Move steadily but smoothly along the design lines until you complete each section. Remember to change thread colors as needed for a vibrant finish.
With practice and patience, you’ll soon master this artful craft!
Prepare Your Flour Sack Towels
To get your towels ready for the beautiful embroidery designs, it’s time to give them a little TLC. First, make sure to wash and dry your flour sack towels before beginning any embroidery work. This will remove any dirt or residue from the manufacturing process and ensure a clean surface for stitching.
Next, iron the towels to remove any wrinkles or creases, creating a smooth canvas for your designs.
Finally, consider prepping the fabric by using a stabilizer or backing material. This will help prevent stretching, puckering, or distortion of the towel during the embroidery process.
Soothing lavender-scented laundry detergent can enhance your experience.
Softly humming along to your favorite tunes while ironing adds a touch of joy.
Imagining each stitch transforming the plain towel into an exquisite masterpiece can bring excitement.
Taking these steps will not only prepare your flour sack towels for machine embroidery but also contribute to achieving professional-looking results that you’ll be proud of.
Set Up Your Embroidery Machine
Get your embroidery machine all set up and ready to go by making sure everything is in place, like a conductor preparing their orchestra before the symphony begins.
First, locate the power cord and plug it into an electrical outlet. Make sure the machine is on a stable surface and that there’s enough space around it for easy movement.
Next, attach the hoop to the machine by sliding it onto the embroidery arm and tightening the screw.
Choose a design for your flour sack towel and load it onto your machine using a USB drive or by connecting directly with your computer.
Adjust any necessary settings such as stitch density or thread tension according to your desired outcome.
Finally, thread your machine with the chosen color of embroidery thread, ensuring that it is properly threaded through each guide and tension disc.
With everything set up, you’re now ready to start embroidering beautiful designs on your flour sack towels!
Embroider Your Design
To begin embroidering your design, start the machine by pressing the power button and selecting the appropriate embroidery settings.
Once the machine is running, monitor the progress closely to ensure that the stitches are being formed correctly and that there are no issues with tension or thread breakage.
If any adjustments need to be made, pause the machine and use the controls to fine-tune settings such as stitch length or thread tension.
By staying attentive and making necessary adjustments, you can ensure a successful and beautiful embroidery on your flour sack towel.
Start the Machine
Once the machine is set up, simply press the start button to begin embroidering on the flour sack towels. Before you do, make sure that the thread’s properly threaded through the needle and the bobbin’s loaded with the desired color. Check that your design’s correctly positioned on the fabric, ensuring it’ll be centered and straight.
Take a moment to review your machine settings, such as stitch length and tension, to ensure optimal embroidery results. Once everything’s in order, take a deep breath and press that start button with confidence.
Watch as the machine comes to life, gracefully moving its needle up and down, creating intricate designs on your flour sack towels. As it works its magic, marvel at how each stitch blends seamlessly with the next, bringing your vision to life in vibrant colors.
Embroidering on flour sack towels has never been so effortless!
Monitor the Progress and Make Adjustments
Keep a close eye on the progress of your embroidery and be prepared to make any necessary adjustments along the way. This will ensure that you achieve the best results possible. Here are some tips to help you monitor the progress and make any needed adjustments:
- Check the tension: Keep an eye on the thread tension throughout the embroidery process. If it’s too tight, your design may pucker or distort; if it’s too loose, your stitches may appear sloppy or uneven.
- Watch for thread breakage: Occasionally, threads may break during machine embroidery. Stay vigilant and pause the machine immediately if this happens. Re-thread the needle and resume stitching from where you left off.
- Adjust stitch length: Depending on your design and fabric thickness, you may need to adjust the stitch length. Experiment with different settings until you achieve a balanced look.
By staying attentive, making necessary adjustments promptly, and experimenting with different settings when needed, you’ll create beautiful machine embroidered flour sack towels that showcase your creativity and attention to detail.
Finishing Touches and Care Instructions
For a touch of flair and longevity, don’t forget to pamper your embroidered flour sack towels with gentle care.
After completing the machine embroidery on your towel, it’s important to add those finishing touches that will make your creation stand out. Take a few moments to inspect the design for any loose threads or imperfections. Use sharp scissors to carefully trim away any excess thread, ensuring a clean and polished finish.
Once you’re satisfied with the final look, it’s time to give your towel some extra care instructions. Machine wash it in cold water on a gentle cycle using mild detergent. Avoid using bleach or fabric softener as these can damage the delicate fibers of the towel.
After washing, tumble dry on low heat or air dry flat to maintain its shape and prevent any shrinking.
With proper care, your embroidered flour sack towel will remain a stunning addition to your home decor for years to come!
Frequently Asked Questions
Can I use any type of embroidery machine for machine embroidering on flour sack towels?
Yes, you can use any type of embroidery machine for machine embroidering on flour sack towels. Whether it’s a basic home embroidery machine or a more advanced commercial one, as long as it has the capability to stitch designs onto fabric, it will work. Just make sure to adjust the settings for the thickness of the flour sack towel and use appropriate stabilizers to prevent puckering or stretching. Experiment with different needle sizes and thread weights for optimal results.
Do I need to prewash the flour sack towels before embroidering?
Yes, it’s highly recommended to prewash the flour sack towels before embroidering. Prewashing helps remove any chemicals or residues in the fabric that could interfere with the embroidery process. It also allows for any shrinkage or puckering to occur prior to stitching, ensuring a more accurate and professional-looking result. Simply machine wash the towels using a gentle cycle and mild detergent, then tumble dry on low heat or air dry.
Can I use regular sewing thread for machine embroidery on flour sack towels?
Yes, you can use regular sewing thread for machine embroidery on flour sack towels. However, it’s important to consider the thickness and strength of the thread. Opt for a high-quality polyester or rayon thread that’ll withstand washing and provide durability to your designs. Additionally, choose colors that contrast well with the towel’s fabric to ensure your embroidery pops. Don’t forget to adjust your machine’s tension and use an appropriate needle size for smooth stitching results.
How do I transfer my design onto the flour sack towels?
To transfer your design onto flour sack towels, start by choosing a method that suits your preferences and the complexity of your design.
One option is using water-soluble stabilizer, which you hoop along with the towel and trace your design onto.
Another method involves printing your design onto heat transfer paper and ironing it onto the towel.
Alternatively, you can use carbon transfer paper to trace the design directly onto the towel.
Experiment to find what works best for you!
What are some tips for maintaining the embroidered design on the flour sack towels after washing?
To maintain that precious embroidered design on your beloved flour sack towels, dear embroiderer, you must first bid adieu to the notion of tossing them carelessly into the washing machine. Instead, embrace the delicate cycle with cold water and a mild detergent.
Consider turning those towels inside out to protect the intricate threads from friction and snagging. After their gentle bath, lay them flat to dry like pampered royalty.
Ironing? Oh no, darling! Get yourself a steamer for that regal touch without compromising your embroidered masterpiece.
Conclusion
Now that you’ve learned how to machine embroider on flour sack towels, you’re ready to embark on your own creative journey.
With just a few materials and some design ideas, you can transform plain towels into personalized works of art.
Did you know that over 75% of people who try machine embroidery find it to be a relaxing and fulfilling hobby? So why not give it a try and join the growing community of embroidery enthusiasts?
Start stitching today and let your creativity shine!