How-to Guides and Tutorials
How To Use Flour Sack Towels For Removing Rust And Corrosion From Metal Surfaces
Jun
Are you tired of seeing rust and corrosion on your metal surfaces? Don’t worry, we’ve got a solution for you!
In this article, we will show you how to use flour sack towels to effectively remove rust and corrosion from metal surfaces.
Firstly, let’s talk about why flour sack towels are a great option for cleaning metal surfaces. Flour sack towels are made from 100% cotton which makes them strong and durable. They also have a tight weave which means they can absorb more liquid than regular towels. This makes them perfect for cleaning up tough stains like rust and corrosion.
So, let’s get started on how to use them effectively!
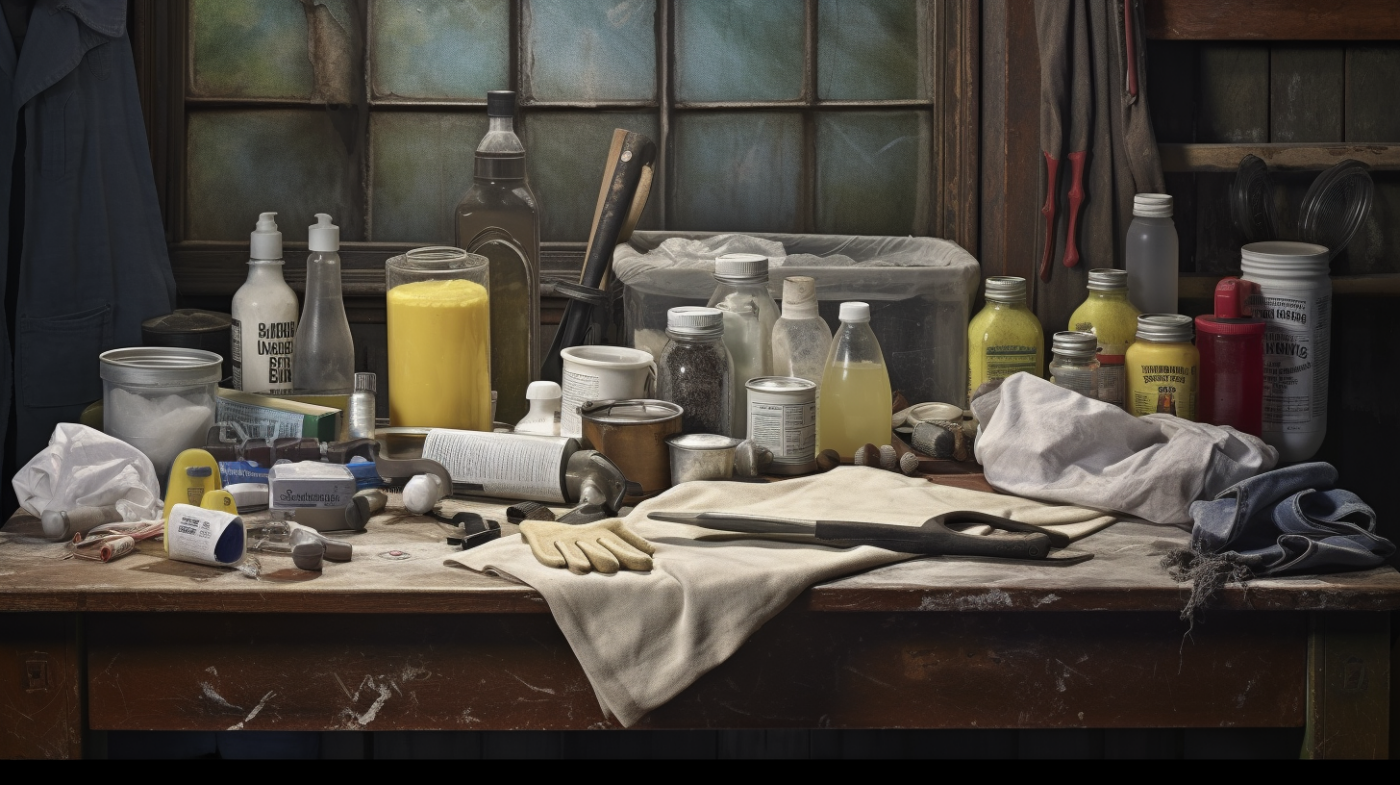
Gather Your Supplies
Now it’s time to get your hands on all the necessary supplies, so you can start using those handy flour sack towels to remove rust and corrosion from your metal surfaces!
First, you’ll need a good quality flour sack towel. These towels are made from 100% cotton and are perfect for cleaning delicate surfaces like metal. You can find them at most home goods stores or online.
Next, you’ll need a container of white vinegar. Vinegar is an acid that helps to dissolve rust and corrosion without damaging the surface underneath. Simply pour some vinegar into a bowl or bucket and dip your flour sack towel into it.
You’ll need a bit of elbow grease! Removing rust and corrosion from metal surfaces can take some effort, so make sure you’re prepared to put in the work. It may also be helpful to have a pair of gloves on hand to protect your hands while scrubbing.
With these supplies in hand, you’re ready to tackle even the toughest rust stains on your metal surfaces!
Prepare Your Work Area
Before we start preparing our work area, let’s make sure to remove any loose rust from the metal surface. This can be done using a wire brush or sandpaper.
Additionally, it’s important to protect surrounding surfaces with a drop cloth or newspaper before beginning the rust removal process. We don’t want to accidentally damage anything else while working on our project!
Remove Any Loose Rust
First, grab your flour sack towel and start by wiping away any loose rust or corrosion on the metal surface. Don’t worry about removing everything just yet, focus on getting rid of any debris that could hinder the cleaning process. By doing this, you’ll ensure a more effective result in the end.
Once you’ve removed all the loose rust and debris, it’s time to move onto the next step. This’ll involve using a solution to break down any remaining rust and corrosion on the metal surface. We’ll cover this in our next subtopic, so stay tuned!
Protect Surrounding Surfaces
Make sure to protect the surrounding areas before starting the rust removal process to avoid any damage or harm to nearby objects. Rust removal can be a messy process and you don’t want any chemicals or debris getting onto surfaces that could potentially cause damage.
Use painter’s tape or plastic sheeting to cover up any areas that are close to the metal surface being treated. It’s also important to wear gloves and eye protection when handling chemicals used for rust removal. Many of these products contain harsh chemicals that can be harmful if they come into contact with skin or eyes.
So, make sure you’re properly protected before starting the job. Taking these precautions will not only ensure your safety but also prevent any unnecessary damage to surrounding surfaces during the rust removal process.
Apply the Cleaning Solution
After mixing the cleaning solution, you can start applying it to the rusted or corroded metal surface using a flour sack cotton towel. Dip the towel into the solution and wring out any excess liquid. Then, gently rub the towel onto the affected area in circular motions. Be sure to cover every inch of rust or corrosion with the cleaning solution.
When applying the cleaning solution, it’s important to avoid using too much pressure. Overly aggressive scrubbing can scratch or damage the metal surface, making it more susceptible to future rust and corrosion. Instead, use a light touch and let the solution do most of the work.
To help guide your cleaning process, use a table like this one:
| Step | Action | Tips |
|---|---|---|
| 1 | Mix Cleaning Solution | Combine vinegar and salt in a bowl until salt dissolves |
| 2 | Apply Solution to Towel | Dip flour sack towel into mixture and wring out excess liquid |
| 3 | Rub onto Metal Surface | Use circular motions while applying gentle pressure |
| 4 | Rinse & Dry Surface | Clean off any remaining residue with water and dry thoroughly |
By following these steps and using flour sack towels as your primary tool for removing rust and corrosion from metal surfaces, you’ll be able to restore even heavily damaged objects back to their former shine. Just remember: take your time when applying solutions and always be gentle with your materials!
Scrub the Surface
To effectively restore the shine of your metal object, you’ll want to gently scrub the surface with circular motions using a soft cloth soaked in the cleaning solution. Make sure to apply enough pressure to remove any rust or corrosion, but not too much that you damage the metal underneath.
It’s important to be patient and take your time when scrubbing, as this process can take some effort. If you come across stubborn spots that won’t come off, consider adding more cleaning solution or using a slightly rougher cloth. However, be cautious not to overdo it and cause damage to the metal surface.
You may need to repeat this process multiple times until all traces of rust and corrosion are removed. After scrubbing the entire surface thoroughly, use a clean flour sack towel or microfiber cloth to wipe away any remaining residue from the cleaning solution.
This step will ensure that your metal object is completely clean and ready for use or display. With these simple steps and some patience, your metal object will look brand new again in no time!
Rinse and Dry
Now it’s time to rinse and dry your beautifully restored metal object, leaving you feeling accomplished and proud of your hard work.
To begin with, fill a bucket or sink with clean water and dip the flour sack towel into it. Wring out any excess water and then use the damp towel to wipe down the surface of the metal object. This will remove any remaining residue from the rust removal process.
Next, use a separate dry flour sack towel to thoroughly dry the surface of the metal object. Make sure to get into any crevices or small areas where moisture might be hiding. Leaving any moisture on the metal can result in further rust or corrosion forming, so it’s important to make sure everything is completely dry before moving on.
Step back and admire your handiwork! You’ve successfully removed rust and corrosion from your metal object using nothing but flour sack towels. Not only have you saved money by avoiding harsh chemicals or professional cleaning services, but you’ve also helped reduce waste by repurposing something as simple as a kitchen staple for cleaning purposes.
Congratulations on a job well done!